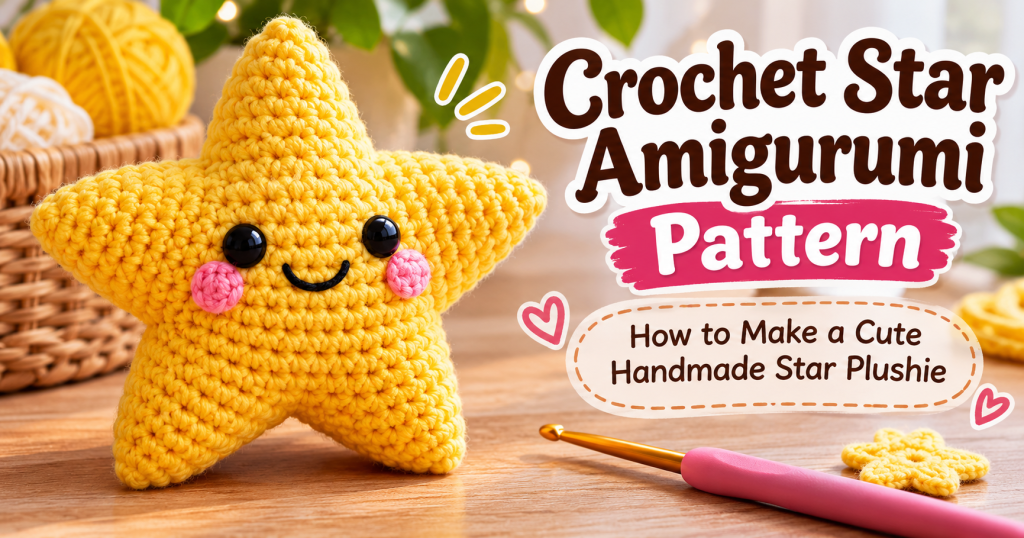
Looking for a fun and adorable crochet project? This Crochet Star Amigurumi Pattern is a lovely way to create your own soft, handmade star. With its five rounded points, sweet little face, and squishy shape, this crochet star makes a charming decoration, a thoughtful handmade gift, or a cute addition to your amigurumi collection.
The best part is that you don’t need complicated stitches to make it. The star is created using basic crochet techniques, including single crochet, increases, and decreases. You’ll crochet two matching star-shaped panels, add the facial details, and join everything together with a little stuffing inside.
You can customize your star with different yarn colors, embroidered expressions, or small decorative details. Make a cheerful yellow star, a pastel-colored plushie, or even a Christmas-inspired decoration.
Let’s get started!
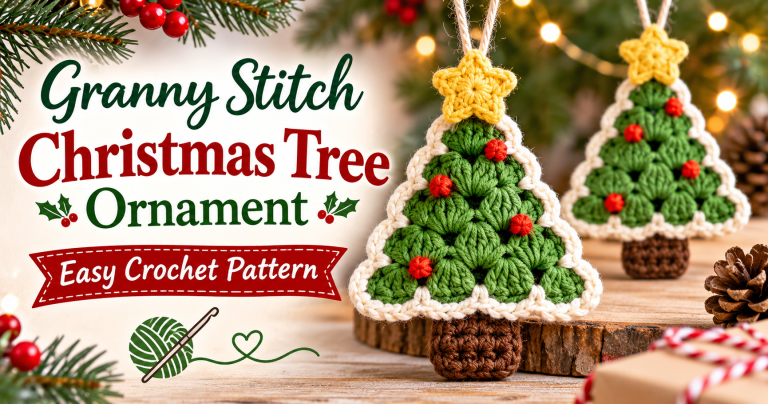
Related : Granny Stitch Christmas Tree Ornament , Easy Crochet Pattern
Crochet Star Amigurumi Pattern at a Glance
- Project: Crochet Star Amigurumi
- Skill Level: Beginner to Intermediate
- Crochet Terms: US Terms
- Finished Size: Approximately 5–6 inches (13–15 cm), depending on your yarn and tension
- Yarn: Worsted weight yarn
- Hook: 3.5 mm crochet hook
- Construction: Two star-shaped panels joined together
- Techniques: Single crochet, increases, decreases, and sewing
- Estimated Time: 2–4 hours
Materials You’ll Need
Before starting your crochet star plushie, gather the following supplies:
- Yellow worsted-weight yarn for the main star.
- A small amount of black yarn for the eyes and mouth.
- A 3.5 mm crochet hook.
- Polyester fiberfill stuffing.
- Tapestry needle for sewing.
- Stitch markers.
- Scissors.
- Two small black safety eyes (optional).
Choosing Your Yarn
A soft cotton or acrylic yarn works beautifully for this project. If you prefer a fluffy, cuddly star, you can also use velvet yarn, although you may need to adjust your hook size and stitch tension.
For a traditional star appearance, yellow is a lovely choice. However, pink, lavender, cream, and light blue can create equally adorable results.
Crochet Abbreviations (US Terms)
This pattern uses standard US crochet terminology.
- MR – Magic Ring
- SC – Single Crochet
- INC – Increase (2 SC in the same stitch)
- DEC – Decrease (Invisible Single Crochet Decrease)
- SL ST – Slip Stitch
- ST – Stitch
- R – Round
- FO – Fasten Off
Important: Work in continuous rounds unless otherwise stated. Use a stitch marker to identify the first stitch of each round.
Step 1: Create the Five Star Points
The five points give your amigurumi its recognizable star shape. You’ll crochet five identical pieces.
Using yellow yarn:
Round 1: Make a magic ring and crochet 4 SC into the ring. (4)
Round 2: SC in each stitch around. (4)
Round 3: INC in each stitch around. (8)
Round 4: SC in each stitch around. (8)
Round 5: Repeat (1 SC, INC) around. (12)
Round 6: SC in each stitch around. (12)
Round 7: Repeat (2 SC, INC) around. (16)
Round 8: SC in each stitch around. (16)
Round 9: Repeat (3 SC, INC) around. (20)
Round 10: SC in each stitch around. (20)
Fasten off, leaving a long sewing tail.
Repeat these instructions until you have five matching star points.
Helpful Tip: Add a small amount of stuffing inside each point before attaching it to the star body. Keep the opening and base lightly stuffed so the pieces remain easy to sew.
Step 2: Crochet the Star Center Panels
Now it’s time to create the front and back of your star.
You’ll need two matching circular panels.
Using yellow yarn:
Round 1: Make a magic ring and crochet 5 SC into the ring. (5)
Round 2: INC in each stitch around. (10)
Round 3: Repeat (1 SC, INC) around. (15)
Round 4: Repeat (2 SC, INC) around. (20)
Round 5: Repeat (3 SC, INC) around. (25)
Round 6: Repeat (4 SC, INC) around. (30)
Round 7: Repeat (5 SC, INC) around. (35)
Round 8: Repeat (6 SC, INC) around. (40)
Round 9: SC in each stitch around. (40)
Fasten off the first panel.
Make a second identical panel, but do not fasten off if you prefer to use its yarn for joining later.
You should now have two matching center pieces.
Step 3: Add the Cute Star Face
Before joining the panels, it’s much easier to add the facial details while the front piece is still flat.
Place the front panel on a flat surface with the right side facing you.
Adding the Eyes
You can use two small black safety eyes or embroider the eyes using black yarn.
Position the eyes symmetrically near the center of the panel, leaving enough space between them for a small smile.
If using safety eyes, secure the washers firmly on the back.
Creating the Smile
Thread your tapestry needle with black yarn.
Make a small curved smile below the eyes using a few neat embroidery stitches.
You can also add tiny pink cheeks using pink yarn if you’d like your star to have an extra-cute appearance.
Take a moment to check that both eyes are evenly positioned before moving to the next step.
Step 4: Attach the Five Star Points
This is where the project starts looking like a real star!
Take your five crocheted points and arrange them around the outside edge of the front panel.
Position them evenly:
- One point at the top.
- One point on the upper right.
- One point on the lower right.
- One point on the lower left.
- One point on the upper left.
The wider openings of the points should face toward the center.
Use stitch markers or pins to hold everything in place.
Sew each point carefully to the front panel using a tapestry needle and matching yellow yarn.
Try to keep the spaces between the points even. These small spaces will form the valleys of your star.
Helpful Tip: Don’t pull the sewing yarn too tightly. A little flexibility makes it easier to shape the finished plushie.
Step 5: Join the Front and Back Panels
Once all five points are attached to the front panel, place the second center panel behind it.
Make sure the edges line up and the facial details are facing outward.
Using your tapestry needle, begin joining the two panels around their outer edges.
Work slowly through the stitches, making sure each point is secured between the front and back layers.
Leave a small opening before completing the entire seam.
Step 6: Stuff Your Crochet Star
Now comes the fun part!
Take small amounts of polyester fiberfill and gently push them inside the star.
Start by filling the five points, then add stuffing to the center.
Avoid adding too much filling at once. Overstuffing can make the star lose its shape and create rounded valleys between the points.
Keep the stuffing evenly distributed so the finished star looks soft and balanced.
Once you’re happy with the shape, continue sewing the remaining opening closed.
Secure the yarn, weave in the ends, and gently adjust the five points with your fingers.
Your crochet star is almost ready!
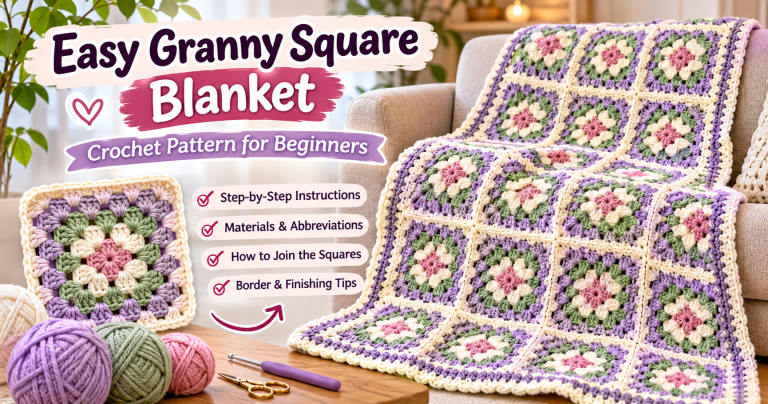
Related : Easy Granny Square Blanket Crochet Pattern for Beginners
Step 7: Finishing Touches and Decoration Ideas
A little creativity can make your handmade star even more special.
Here are some simple ideas:
1. Add Rosy Cheeks
Use pink embroidery thread to add two tiny cheeks below the eyes.
2. Make a Christmas Star
Choose traditional Christmas colors and add a small hanging loop at the top. Your finished star can become a cute Christmas tree ornament.
3. Create Different Expressions
Experiment with different embroidered mouths to give every star its own personality.
4. Add a Hanging Loop
Attach a small chain of crochet stitches to the top point if you’d like to hang your star on a Christmas tree, bag, or decorative hook.
5. Try Pastel Colors
Soft pink, baby blue, lavender, and cream create a beautiful collection of decorative stars.
Tips for Making the Perfect Crochet Star Amigurumi
Here are a few helpful tips to make your project easier:
- Use a smaller hook: A slightly smaller hook helps create tight stitches and prevents stuffing from showing.
- Count your stitches: Keep track of every round to make sure your pieces stay consistent.
- Use stitch markers: They make it easier to follow continuous rounds.
- Stuff gradually: Add small amounts of filling instead of stuffing the entire star at once.
- Check the symmetry: Arrange all five points before sewing them permanently.
- Secure the details: Make sure the eyes, smile, and hanging loop are firmly attached.
Frequently Asked Questions
Is this crochet star pattern suitable for beginners?
Yes! The pattern uses basic crochet stitches such as single crochet, increases, and simple sewing techniques. Beginners who are comfortable working in continuous rounds can give it a try.
What yarn is best for a crochet star amigurumi?
Worsted-weight acrylic or cotton yarn is a good choice. Both provide clear stitches and help the star maintain its shape.
Can I make this crochet star bigger?
Absolutely! You can use thicker yarn and a larger crochet hook to create a bigger plushie. Just remember that your finished size and yarn requirements will change.
How do I keep the five points looking neat?
Make sure each point is stuffed evenly without overfilling it. Take your time when attaching the points and check the spacing before finishing the seams.
Can I use this pattern to make Christmas decorations?
Yes! Add a hanging loop, choose festive colors, or decorate the star with small embroidered details to create a handmade Christmas ornament.
Can I embroider the eyes instead of using safety eyes?
Definitely. Embroidered eyes are a great alternative, especially when making crochet toys intended for young children.
Final Thoughts
Making a crochet star amigurumi is a wonderful little project that combines simple stitches with a charming finished result.
Whether you make one as a handmade gift, a cute bedroom decoration, or a festive Christmas ornament, each star can have its own unique personality.
Try different colors, experiment with facial expressions, and enjoy creating your own little collection of handmade stars.
Happy Crocheting!