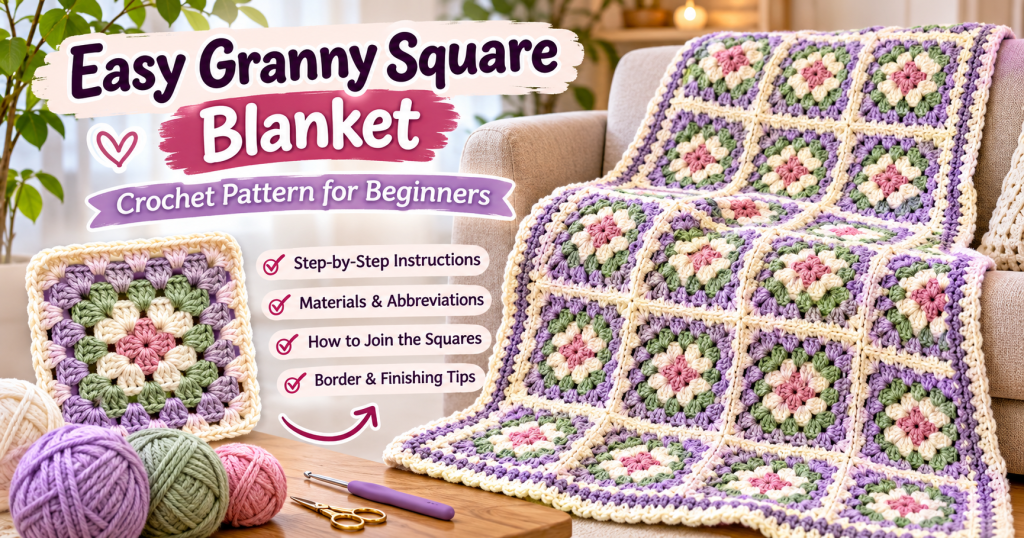
A handmade crochet blanket has a special way of making any room feel warmer and more inviting. Whether you want to create something cozy for your sofa, a thoughtful handmade gift, or a colorful addition to your bedroom, a granny square blanket is a wonderful project to try.
The best part? You don’t need to be an experienced crocheter to make one. Granny squares are made individually, using simple stitches and repeating rounds. Once you have enough squares, you can join them together to create a beautiful blanket in almost any size or color combination.
In this tutorial, you’ll learn how to make a classic granny square from the beginning, how to change colors, and how to turn your finished squares into a lovely crochet blanket.
Let’s get started!
What Is a Granny Square Blanket?
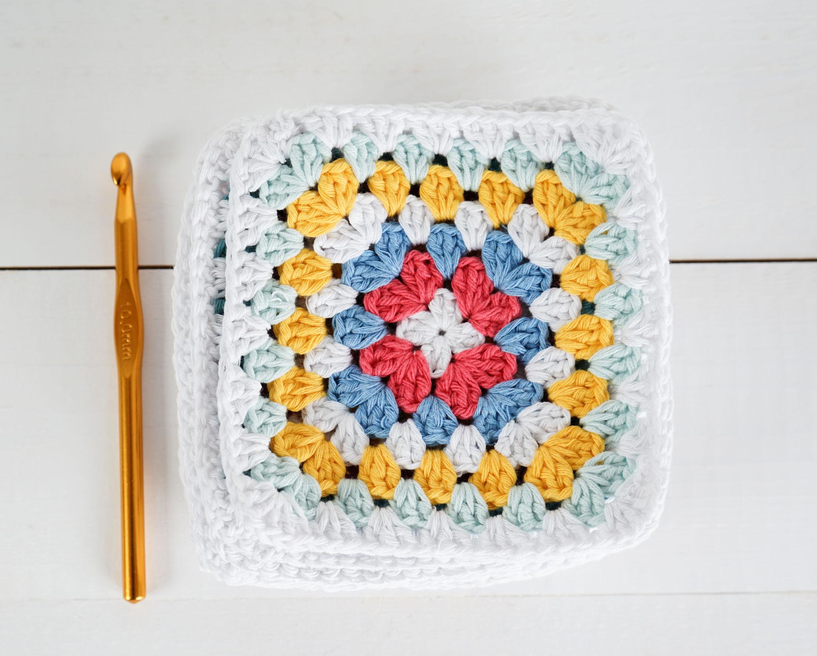
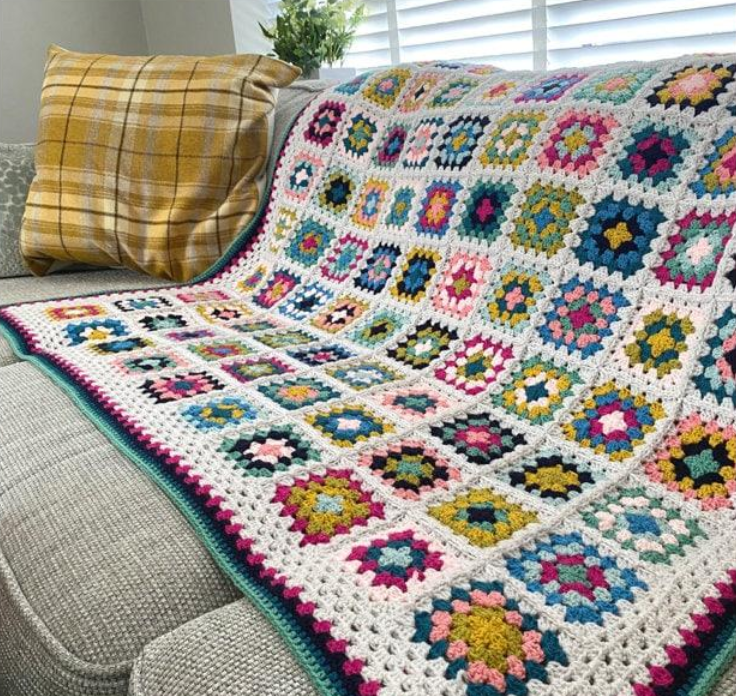
A granny square blanket is made by crocheting several small square motifs and joining them together to form a larger piece.
Each square is usually worked in rounds, starting from the center and gradually growing outward. Traditional granny squares use groups of double crochet stitches separated by chain spaces, creating the familiar open, textured appearance.
One reason crocheters love this project is its flexibility. You can make every square the same color, experiment with different color combinations, or use leftover yarn from previous projects.
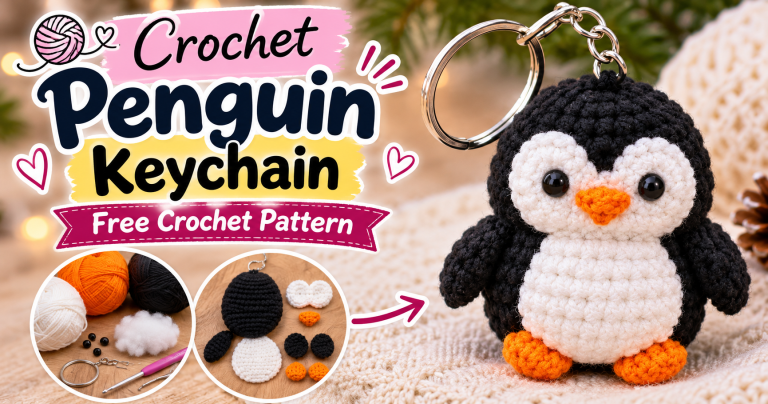
Related : Crochet Penguin Keychain Pattern , Cute Mini Amigurumi
You can also make your blanket as small or large as you like by changing the number of squares.
Materials You Will Need
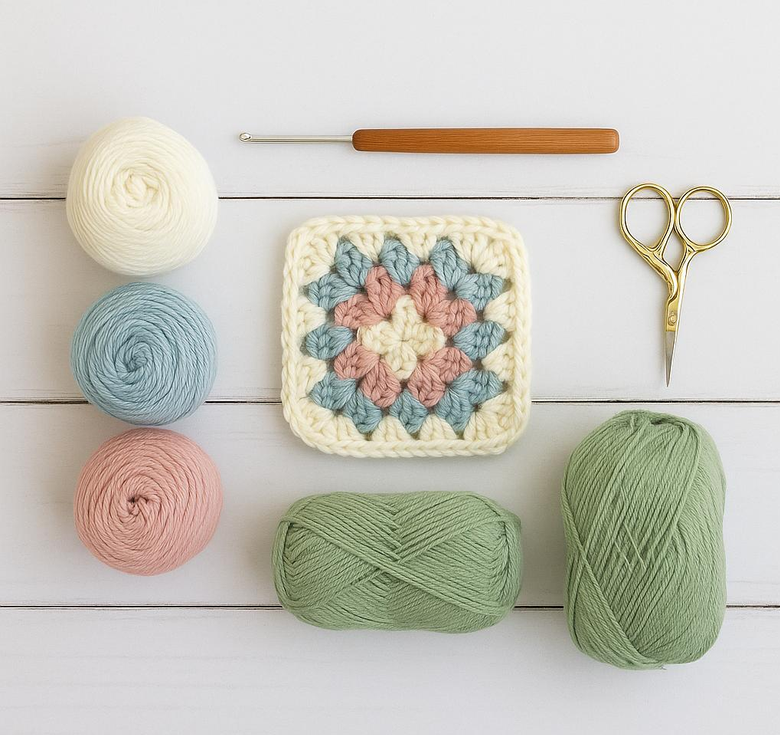
Before starting your granny square blanket, gather the following supplies:
- Medium-weight yarn (Category 4) in your preferred colors.
- A 5 mm crochet hook (or the size recommended for your yarn).
- Scissors.
- Yarn needle for weaving in loose ends.
- Stitch markers (optional).
- Measuring tape.
Choosing Your Yarn
Acrylic yarn is a popular choice for crochet blankets because it is affordable, lightweight, and available in many colors. Cotton yarn is another option if you prefer a more structured texture.
For a classic look, try combining cream, beige, dusty pink, sage green, or soft blue. Bright colors also work beautifully when arranged in a playful pattern.
Crochet Abbreviations
This pattern uses standard US crochet terminology.
- ch – Chain
- sl st – Slip Stitch
- dc – Double Crochet
- st – Stitch
- sp – Space
- rep – Repeat
- rnd – Round
Special Stitch:
A granny cluster consists of 3 double crochet stitches worked into the same space.
How to Make a Classic Granny Square
The following instructions will help you create a traditional granny square. Work each round carefully, paying attention to the corner spaces.
Round 1: Create the Center
Start with a magic ring.
- Chain 3. This counts as your first double crochet.
- Work 2 double crochet stitches into the magic ring.
- Chain 2.
- Work 3 double crochet stitches into the ring.
- Chain 2 and repeat the same sequence two more times.
- Chain 2 and join with a slip stitch to the top of the beginning chain 3.
You should now have four groups of 3 double crochet stitches, with four chain-2 spaces forming the corners.
Pull the magic ring closed gently.
Round 2: Build the Corners
Slip stitch into the nearest corner space.
- Chain 3 (counts as the first double crochet).
- Work 2 double crochet stitches into the same corner space.
- Chain 2.
- Work 3 double crochet stitches into that same space.
- Chain 1.
- Move to the next corner space and repeat the corner sequence: 3 double crochet, chain 2, 3 double crochet.
- Chain 1 between each corner.
- Join with a slip stitch to the beginning chain 3.
You should now see four clearly defined corners.
Round 3: Add the Side Clusters
Slip stitch into the nearest corner space.
- Chain 3 and work 2 double crochet stitches into the corner space.
- Chain 2 and work another 3 double crochet stitches into the same space.
- Chain 1.
- Work 3 double crochet stitches into the next chain-1 space.
- Chain 1.
- Continue around the square, working a corner cluster in each corner space and a regular granny cluster in each side space.
- Join with a slip stitch.
Your granny square should now have a more noticeable square shape.
Round 4: Continue Growing the Square
For this round, work the same pattern as Round 3.
- Start in a corner space with 3 double crochet stitches, chain 2, and another 3 double crochet stitches.
- Chain 1.
- Work 3 double crochet stitches into each side chain space.
- Chain 1 between the side clusters.
- At each corner, work the complete corner sequence.
- Continue until you reach the starting point and join with a slip stitch.
As you add rounds, the square becomes larger. Keep checking that the corners remain flat.
Round 5: Add More Texture and Size
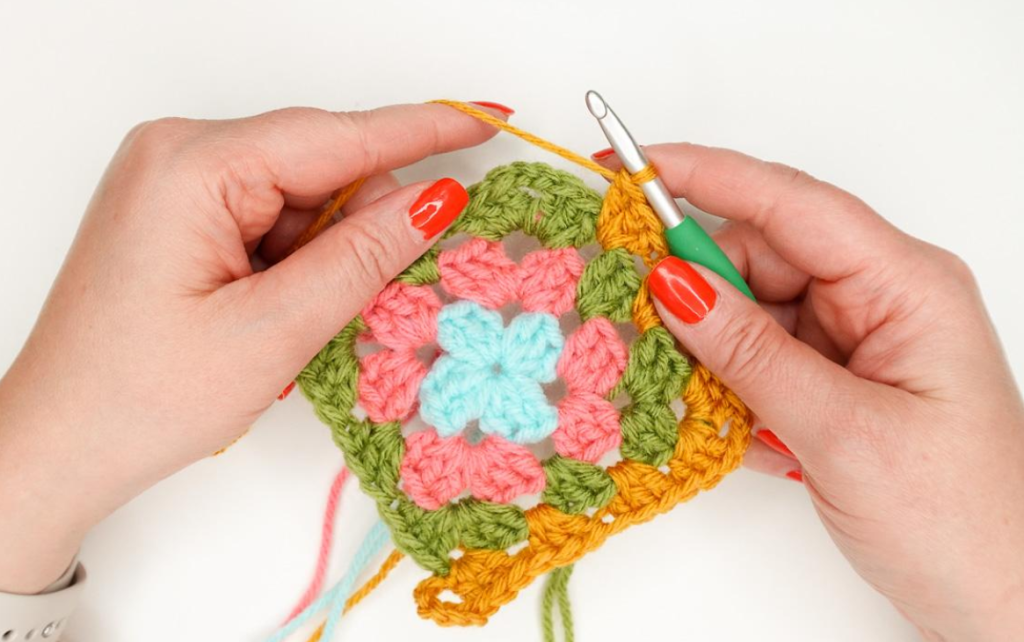
Repeat the same granny square pattern.
Work a corner cluster in each corner space and a regular 3-double-crochet cluster in every side space.
Remember to chain 1 between side clusters and maintain chain-2 spaces at the corners.
At the end of the round, join with a slip stitch.
Round 6: Finish the Square
For the final round, repeat the established granny square pattern once more.
When you finish, fasten off your yarn and leave a small tail. Use a yarn needle to weave in the loose ends neatly.
If you prefer a more defined edge, you can add an additional round of single crochet stitches around the square.
Your first granny square is ready!
How to Change Colors
Changing colors is an easy way to make your granny square blanket more interesting.
You can use one color for each round or alternate between two or three shades.
To change colors:
- Finish the final stitch of your current round until two loops remain on the hook.
- Drop the old yarn and complete the stitch using the new color.
- Continue crocheting with the new yarn.
- Secure and weave in the loose ends when finished.
Try combining neutral shades with one or two brighter colors for a balanced design.
How to Make a Full Granny Square Blanket
Once you have completed your first square, repeat the pattern until you have enough squares for your desired blanket size.
Here is a simple example of how you can plan your blanket:
| Blanket Size | Square Layout | Total Squares |
|---|---|---|
| Small lap blanket | 4 × 4 | 16 |
| Medium throw | 5 × 6 | 30 |
| Large blanket | 6 × 7 | 42 |
| Extra-large blanket | 7 × 8 | 56 |
These layouts are suggestions rather than fixed measurements. The finished dimensions will depend on your yarn, hook size, and the size of each granny square.
Joining Your Granny Squares
After making all your squares, lay them out on a flat surface and arrange them in your preferred color pattern.
There are several ways to join granny squares:
Slip Stitch Join
Place two squares together with their edges aligned. Insert your hook through the corresponding stitches of both squares and work slip stitches along the edge.
This creates a neat, slightly raised seam.
Single Crochet Join
Use single crochet stitches to connect the squares. This method creates a more noticeable decorative ridge between motifs.
Whip Stitch Join
Using a yarn needle and matching yarn, sew the edges of two squares together with small, even stitches.
This method creates a relatively flat seam.
Choose whichever joining method gives you the appearance and texture you prefer.
Adding a Border to Your Blanket
A border gives your finished blanket a clean and polished appearance.
Once all your squares are joined, attach your yarn to any corner of the blanket.
Work a round of single crochet stitches evenly around the entire edge.
At each corner, work 3 single crochet stitches into the same corner stitch or space to help the blanket lie flat.
If you want a thicker border, add another round of double crochet stitches.
You can use the same color as your blanket or choose a contrasting shade to make the edges stand out.
Related : Crochet Stuffed Bunny Pattern , Easy Plush Amigurumi Bunny
Helpful Tips for Beginners
If this is your first large crochet project, a few simple habits can make the process easier.
- Keep your tension consistent: Try to maintain the same tension throughout every square so they will be similar in size.
- Count your stitches: Check your corners and clusters at the end of each round.
- Use stitch markers: Marking the corners can help you avoid losing your place.
- Choose washable yarn: This is especially useful if you plan to use the blanket regularly.
- Weave in ends as you go: Finishing loose yarn ends after every few squares can save time later.
- Block your squares: If your squares look uneven, blocking can help them become more uniform before joining.
Common Granny Square Problems and How to Fix Them
Why is my granny square curling?
Curling can happen when your stitches are too tight or your corners do not have enough chain spaces. Check your tension and make sure you are following the corner instructions correctly.
Why are my squares different sizes?
This usually happens when your tension changes between squares. Try using the same hook and yarn throughout the project, and measure each square before joining.
Why does my blanket look wavy?
Uneven joining or inconsistent stitch placement can make the blanket edges look wavy. Check that the squares are aligned properly and avoid pulling your joining yarn too tightly.
How many granny squares do I need?
It depends on the finished size you want and the dimensions of each square. Plan your layout before starting so you can estimate how many motifs you need.
Final Thoughts
Making a granny square blanket is a rewarding crochet project that allows you to experiment with colors, textures, and patterns while creating something useful and beautiful.
You can start with just one square, practice the basic stitches, and gradually build your collection of motifs. Before long, those individual pieces can become a cozy handmade blanket that you will enjoy for years.
Don’t worry if your first few squares are not perfectly even. Crochet takes practice, and every new project is an opportunity to improve your skills.
Choose your favorite yarn colors, grab your crochet hook, and enjoy creating your own granny square blanket!
Happy crocheting!