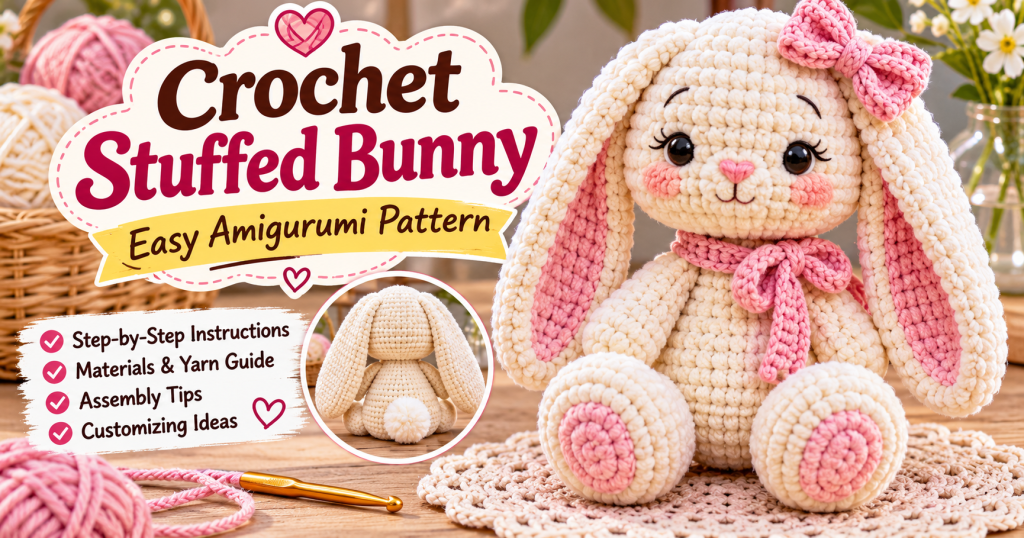
There is something special about handmade crochet toys. They are soft, full of personality, and make wonderful gifts for people of all ages. If you love creating adorable amigurumi animals, this Crochet Stuffed Bunny Pattern is a lovely project to add to your collection.
This sweet little bunny features a round, cuddly head, long floppy ears, tiny arms, soft feet, and an adorable embroidered face. Made with plush chenille yarn, it has a beautiful fluffy texture that makes it feel like a little stuffed friend.
Whether you’re making a handmade Easter gift, decorating a nursery, or creating a new amigurumi toy for your collection, this bunny is a fun and rewarding crochet project.
The pattern uses basic crochet techniques and is divided into simple sections, making it easier to work on one piece at a time before assembling your finished bunny.
Why You’ll Love This Crochet Bunny
This plush bunny is more than just another amigurumi project.
Here are a few reasons to try it:
- Super soft texture: Plush chenille yarn creates a cuddly, fluffy finish.
- Adorable floppy ears: The long ears give the bunny its charming appearance.
- Customizable design: Choose different yarn colors and facial details.
- Great handmade gift: Perfect for Easter, birthdays, baby showers, and special occasions.
- Fun amigurumi project: Practice shaping, increasing, decreasing, and sewing pieces together.
- Beautiful handmade decoration: Display it on a shelf, bed, or nursery chair.
Finished Bunny Size
Using super bulky plush yarn and a 5 mm crochet hook, the finished bunny should measure approximately:
- Sitting height: 10–12 inches (25–30 cm).
- Ear length: 8–9 inches (20–23 cm).
- Head width: 4–5 inches (10–13 cm).
These measurements are approximate and will vary depending on yarn thickness, hook size, and crochet tension.
Materials You’ll Need
Before starting, prepare the following supplies.
Yarn
- White or cream super bulky chenille yarn for the bunny.
- Pink yarn for the nose and inner ears.
- Small amount of black yarn for embroidered eyes.
- Optional pastel yarn for accessories.
Crochet Tools
- 5 mm crochet hook.
- Polyester fiberfill stuffing.
- Stitch markers.
- Yarn needle.
- Sharp scissors.
- Pins for positioning the pieces.
- Measuring tape.
Yarn recommendation: Plush chenille yarn is ideal for this project because it creates a soft, smooth finish. However, you can also use medium-weight acrylic yarn if you prefer a smaller bunny.
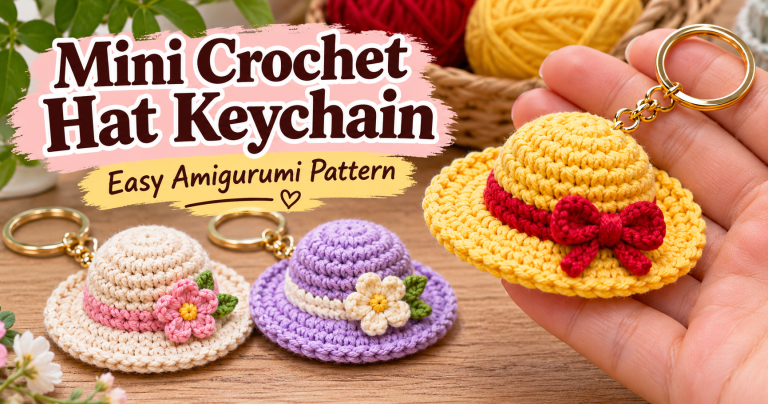
Related : Mini Crochet Hat Keychain , Easy Amigurumi Sun Hat Pattern
Crochet Abbreviations (US Terms)
This pattern uses standard US crochet terminology.
| Abbreviation | Meaning |
|---|---|
| MR | Magic Ring |
| SC | Single Crochet |
| INC | Increase (2 SC in one stitch) |
| DEC | Decrease (SC 2 stitches together) |
| SL ST | Slip Stitch |
| CH | Chain |
| ST | Stitch |
| RND | Round |
Work in continuous spiral rounds unless otherwise stated. Place a stitch marker at the beginning of each round to help keep track of your stitches.
Before You Start
A few important tips will help you achieve a neat result:
- Keep your stitches tight enough to prevent stuffing from showing.
- Use a stitch marker at the beginning of every round.
- Stuff the head and body gradually rather than adding everything at once.
- Avoid overstuffing the ears because they should remain soft and flexible.
- Leave long yarn tails whenever a piece needs to be sewn onto the body.
Crochet Stuffed Bunny Pattern
Part 1: Making the Bunny Head
Start with your main yarn color.
The head is crocheted from the top down, creating a rounded shape with enough room for the facial features.
Round 1: MR, 6 SC into the ring. (6)
Round 2: INC in every stitch around. (12)
Round 3: Repeat (1 SC, INC) around. (18)
Round 4: Repeat (2 SC, INC) around. (24)
Round 5: Repeat (3 SC, INC) around. (30)
Round 6: Repeat (4 SC, INC) around. (36)
Rounds 7–13: SC in every stitch around. (36)
Round 14: Repeat (4 SC, DEC) around. (30)
Round 15: Repeat (3 SC, DEC) around. (24)
Adding the Bunny’s Face
Before closing the head, it’s time to create its adorable expression.
- Place two black safety eyes between rounds 9 and 10.
- Leave approximately 7 stitches between the eyes.
- Embroider a small pink triangular nose below the eyes.
- Add a short vertical stitch underneath the nose to create a sweet bunny expression.
For toys intended for babies and young children, use securely embroidered eyes instead of safety eyes.
Stuff the head evenly with polyester fiberfill.
Round 16: Repeat (2 SC, DEC) around. (18)
Round 17: Repeat (1 SC, DEC) around. (12)
Round 18: DEC around. (6)
Fasten off and close the remaining opening using your yarn needle.
Part 2: Making the Long Floppy Ears (Make 2)
The ears are one of the most recognizable features of this bunny.
Use your main yarn color and work in continuous rounds.
Round 1: MR, 6 SC. (6)
Round 2: Repeat (1 SC, INC) around. (9)
Round 3: Repeat (2 SC, INC) around. (12)
Round 4: Repeat (3 SC, INC) around. (15)
Rounds 5–18: SC in every stitch around. (15)
Round 19: Repeat (3 SC, DEC) around. (12)
Rounds 20–21: SC in every stitch around. (12)
Fasten off, leaving a long tail for sewing.
Do not stuff the ears. Flatten them gently with your fingers.
The result should be two long, soft ears that naturally fall to the sides.
Part 3: Creating the Bunny Body
The body is worked from the bottom upward.
Using your main yarn color:
Round 1: MR, 6 SC. (6)
Round 2: INC around. (12)
Round 3: Repeat (1 SC, INC) around. (18)
Round 4: Repeat (2 SC, INC) around. (24)
Round 5: Repeat (3 SC, INC) around. (30)
Rounds 6–10: SC in every stitch around. (30)
Round 11: Repeat (3 SC, DEC) around. (24)
Round 12: SC in every stitch around. (24)
Round 13: Repeat (2 SC, DEC) around. (18)
Round 14: SC in every stitch around. (18)
Fasten off, leaving a long yarn tail for attaching the head.
Stuff the lower part of the body firmly to help the bunny maintain its sitting position. Keep the upper section slightly softer.
Part 4: Making the Little Arms (Make 2)
The arms are simple and quick to crochet.
Round 1: MR, 6 SC. (6)
Round 2: INC around. (12)
Rounds 3–4: SC in every stitch around. (12)
Round 5: Repeat (4 SC, DEC) around. (10)
Rounds 6–10: SC in every stitch around. (10)
Add a small amount of stuffing to the lower part of each arm.
Flatten the opening and fasten off, leaving a long sewing tail.
Part 5: Making the Bunny Feet (Make 2)
The feet give the bunny its adorable sitting appearance.
Using the main yarn:
Round 1: MR, 6 SC. (6)
Round 2: INC around. (12)
Round 3: Repeat (1 SC, INC) around. (18)
Rounds 4–5: SC in every stitch around. (18)
Round 6: Repeat (1 SC, DEC) around. (12)
Rounds 7–13: SC in every stitch around. (12)
Stuff the feet firmly and the upper leg lightly.
Flatten the opening and leave a long yarn tail for sewing.
Part 6: Creating a Cute Pom-Pom Tail
A fluffy tail gives your bunny an extra adorable finishing detail.
You can use a small white yarn pom-pom or make a crocheted tail.
For a simple crocheted version:
Round 1: MR, 6 SC. (6)
Round 2: INC around. (12)
Rounds 3–4: SC in every stitch around. (12)
Stuff lightly.
Round 5: DEC around. (6)
Fasten off and close the opening.
Set the tail