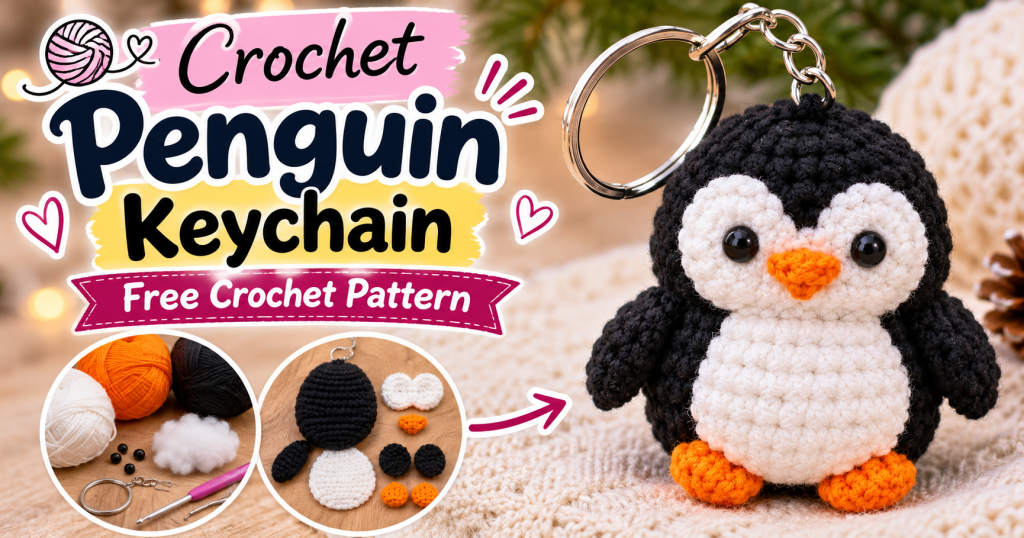
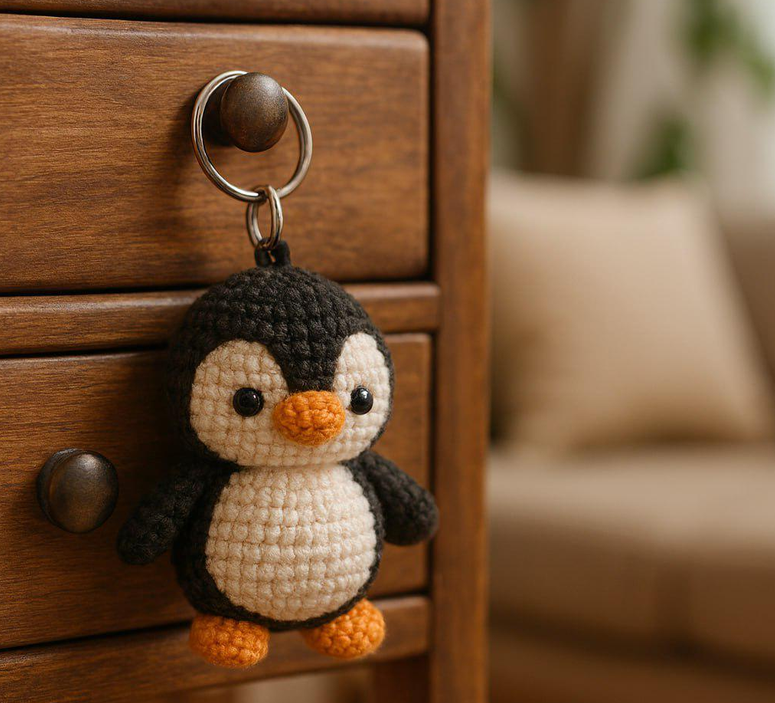
A tiny crochet penguin can make an adorable handmade gift, a cute bag charm, or a festive keychain for the winter season. With its round black body, soft white belly, little orange beak, and tiny feet, this crochet penguin is full of personality despite its small size.
This Crochet Penguin Keychain Pattern is a fun amigurumi project for anyone who enjoys making miniature crochet animals. It uses basic stitches, simple shaping, and a few small pieces sewn together to create a charming little penguin.
Whether you’re making one for yourself, preparing handmade Christmas gifts, or adding something cute to your crochet collection, this little penguin is a lovely project to try.
Crochet Penguin Keychain – Pattern Overview
| Details | Information |
|---|---|
| Project | Penguin Keychain |
| Skill level | Beginner to Intermediate |
| Technique | Amigurumi |
| Finished size | Approximately 3–4 inches |
| Yarn | DK cotton yarn |
| Hook | 2.5 mm |
| Main colors | Black, white, orange |
| Additional materials | Stuffing, key ring, needle |
| Estimated time | 2–3 hours |
Materials You Will Need
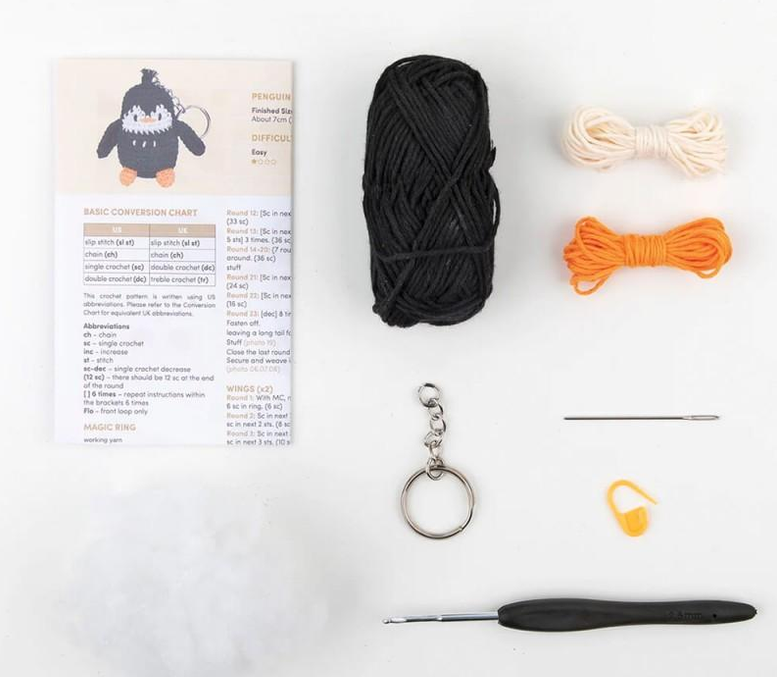
Before starting, prepare the following materials:
- Black DK cotton yarn for the body.
- White yarn for the belly and face.
- Orange yarn for the beak and feet.
- 2.5 mm crochet hook.
- Polyester fiberfill stuffing.
- Two 6 mm safety eyes.
- Metal keychain ring and small chain.
- Yarn needle for sewing.
- Scissors and stitch marker.
Helpful tip: Use a smaller crochet hook than the yarn label recommends. This helps create tight stitches and prevents stuffing from showing through the finished penguin
Understanding the Crochet Stitches
This pattern uses standard US crochet terminology. Here are the abbreviations you’ll need:
| Abbreviation | Meaning |
|---|---|
| MR | Magic Ring |
| ch | Chain |
| sc | Single Crochet |
| inc | Increase (2 sc in one stitch) |
| dec | Invisible Decrease |
| sl st | Slip Stitch |
| st | Stitch |
| BLO | Back Loop Only |
| R | Round |
Important: Work the body in continuous spiral rounds. Do not join each round unless the instructions specifically tell you to do so. Use a stitch marker to identify the first stitch.
Related : Crochet Stuffed Bunny Pattern , Easy Plush Amigurumi Bunny
Step 1: Crochet the Penguin Body
Using black yarn, create the main body. The head and body are crocheted as one piece.
Start with a Magic Ring.
- R1: 6 sc in MR (6)
- R2: inc around (12)
- R3: (1 sc, inc) × 6 (18)
- R4: (2 sc, inc) × 6 (24)
- R5: (3 sc, inc) × 6 (30)
- R6: (4 sc, inc) × 6 (36)
- R7–R12: sc around (36)
- R13: (4 sc, dec) × 6 (30)
- R14: (3 sc, dec) × 6 (24)
- R15: (2 sc, dec) × 6 (18)
Place the safety eyes between R9 and R10, leaving approximately 5 stitches between them.
Before closing the body, add a small amount of fiberfill stuffing. Continue:
- R16: (1 sc, dec) × 6 (12)
- R17: dec × 6 (6)
Fasten off and close the remaining opening with a yarn needle.
Helpful tip: Stuff the lower body slightly more firmly than the head to create a nice rounded penguin shape.
Step 2: Make the White Belly
The white belly gives your penguin its classic appearance.
Using white yarn:
- R1: Ch 7. Sc in the second ch from hook, 4 sc, 3 sc in the last chain. Continue along the opposite side with 4 sc and 2 sc in the first chain (14).
- R2: Inc, 4 sc, inc × 3, 4 sc, inc × 2 (20).
- R3: Sc around (20).
- R4: (4 sc, dec) × 3, 2 sc (17).
Fasten off, leaving a long sewing tail.
Position the belly in the center of the black body. Pin it in place before sewing to ensure it sits straight.
Use small whip stitches around the edge to attach it securely.
Step 3: Crochet the Penguin’s Face
Using white yarn, make a small oval face patch.
- R1: Ch 5. Sc in the second chain, 2 sc, 3 sc in the last chain. Continue on the opposite side with 2 sc and 2 sc in the first chain (10).
- R2: Inc, 2 sc, inc × 3, 2 sc, inc × 2 (16).
- R3: Sc around (16).
Fasten off and leave a long tail.
Position the face patch around the eyes, keeping both eyes visible. Sew the edges gently to the black head.
Step 4: Make the Orange Beak
With orange yarn:
- R1: 4 sc in MR (4).
- R2: (1 sc, inc) × 2 (6).
- R3: Sc around (6).
Fasten off, leaving a sewing tail.
Add a little stuffing if needed, then sew the beak between the eyes, slightly below their center.
Step 5: Crochet Two Little Wings
Make two identical wings using black yarn.
- R1: 6 sc in MR (6).
- R2: (1 sc, inc) × 3 (9).
- R3–R5: Sc around (9).
Fasten off, leaving a long tail.
Flatten each wing slightly without stuffing. Sew one wing onto each side of the body.
Angle them slightly downward for a natural penguin appearance.
Step 6: Make the Tiny Orange Feet
Make two feet using orange yarn.
- R1: Ch 5.
- R2: Starting in the second chain, sc 3, 3 sc in the last chain, then continue along the opposite side with 2 sc and 2 sc in the first chain (10).
- R3: Sc around (10).
Fasten off and leave a long sewing tail.
Sew the feet underneath the body, placing them evenly apart so the penguin looks balanced.
Step 7: Attach the Keychain Hardware
Now it’s time to turn your little penguin into a functional keychain.
You will need a metal split ring and a short chain.
- Identify the center of the penguin’s head.
- Attach a strong metal jump ring or sew a reinforced yarn loop securely into the upper back of the head.
- Connect the short chain to the loop.
- Attach the chain to the split key ring.
- Check that all connections are secure.
If you prefer a softer handmade look, you can crochet a small black loop using 8–10 chains and sew it firmly to the top of the head. However, metal hardware is generally more durable for everyday use.
Safety note: Small metal parts and plastic safety eyes can be choking hazards. This decorative keychain is not suitable as a toy for children under three
Tips for Making Your Crochet Penguin Look Better
A few small details can make a big difference in the finished project.
- Keep your stitches tight: This prevents stuffing from showing through the black yarn.
- Use stitch markers: They help you maintain accurate round counts.
- Check the face placement: Pin the white pieces before sewing.
- Hide your yarn ends: Weave them inside the body for a clean finish.
- Choose cotton yarn: It helps your miniature penguin maintain its shape.
- Use strong hardware: A well-secured keychain attachment will last longer.
Creative Ways to Use Your Crochet Penguin
Once your penguin is finished, there are several ways to enjoy it.
- Bag charm: Attach it to a backpack or handbag.
- Christmas gift: Make several penguins for friends and family.
- Winter decoration: Use a ribbon loop to hang it on a Christmas tree.
- Handmade accessory: Add it to your collection of amigurumi keychains.
- Small business idea: Create different penguin colors and offer them as handmade gifts.
Frequently Asked Questions
Is this crochet penguin suitable for beginners?
Yes. The pattern uses basic crochet stitches, simple increases and decreases, and basic sewing techniques. Beginners who understand single crochet and magic rings can give it a try.
What yarn is best for a crochet penguin keychain?
Cotton DK yarn is a great option because it produces defined stitches and helps the miniature penguin maintain its shape.
How big will the finished penguin be?
The finished size will generally be around 3–4 inches, depending on your yarn thickness, hook size, and tension.
Can I make this penguin without safety eyes?
Yes. You can embroider the eyes using black embroidery thread instead of plastic safety eyes.
Can I sell finished crochet penguins?
You can sell your own handmade finished creations. Always check the terms of any pattern you use and make sure your product photos and descriptions are your own.
Final Thoughts
This little Crochet Penguin Keychain is a charming project that combines simple amigurumi techniques with adorable details. Its small size makes it perfect for using leftover yarn, creating handmade gifts, or adding something special to your winter accessories.
You can experiment with different colors, add a tiny scarf, or even create a whole family of penguins in different sizes.
Happy crocheting